Organization & Workspace
Create an organization, and then create as many workspaces within that organization as you like. Rename, change settings, change permissions, invite users and navigate between orgs & workspaces using the menus in the header bar.
The Header Bar
The header bar is the control panel for workspaces and organizations. It includes the following elements:
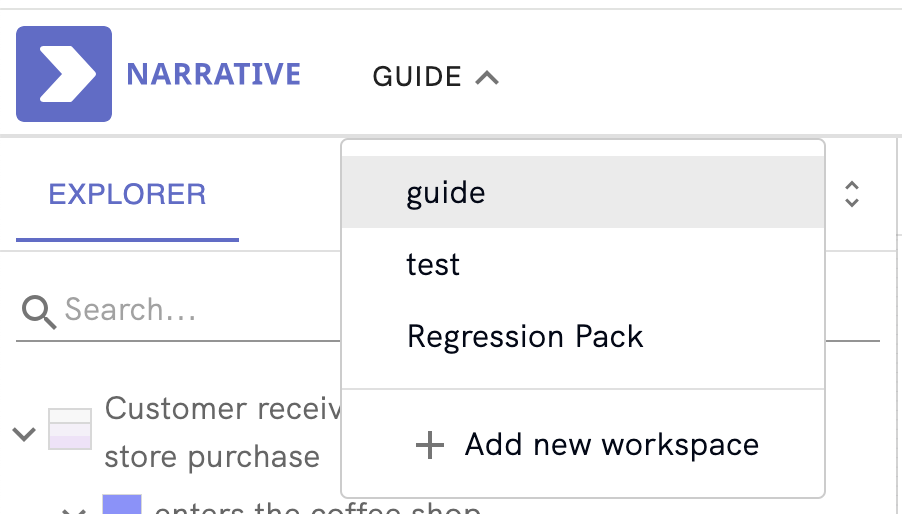
The workspace dropdown
Located on the left-hand side next to the narratives logo, the workspace drop-down allows you to switch between existing workspaces or create new ones.
The Invite Users button
The invites button launches the invites modal, which allows you to add other users to your organization.

The Upgrade Button
Located between the Invite Users button and the Profile Menu, the upgrade button allows you to upgrade your plan.

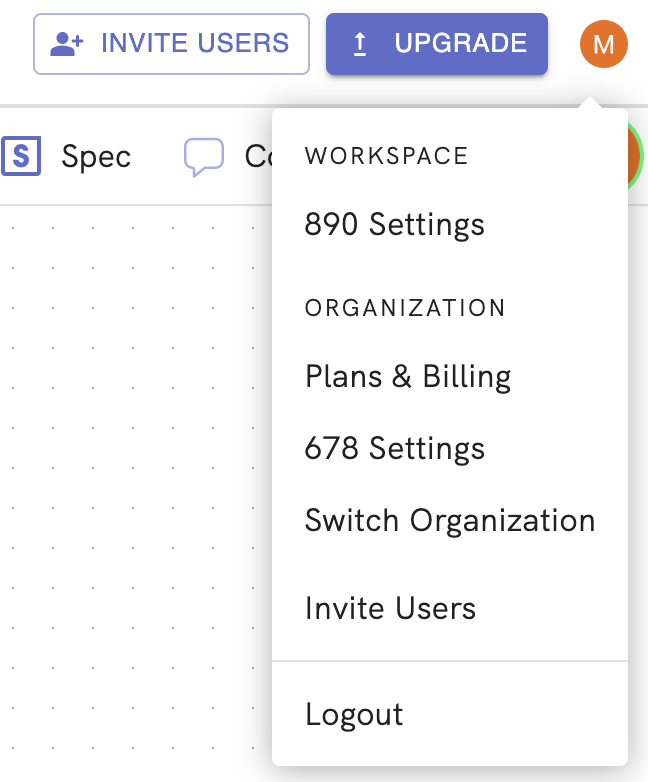
The profile menu
Launch the profile menu by clicking your profile icon in the far right hand corner of the header bar. From this menu, you can adjust workspace & organization settings, switch organizations, invite users, or log out.
Creating orgs
There are two ways to create an organization.
- Upon first sign up. Once your email is confirmed, you will be prompted to login and you will be redirected to the create organization page.
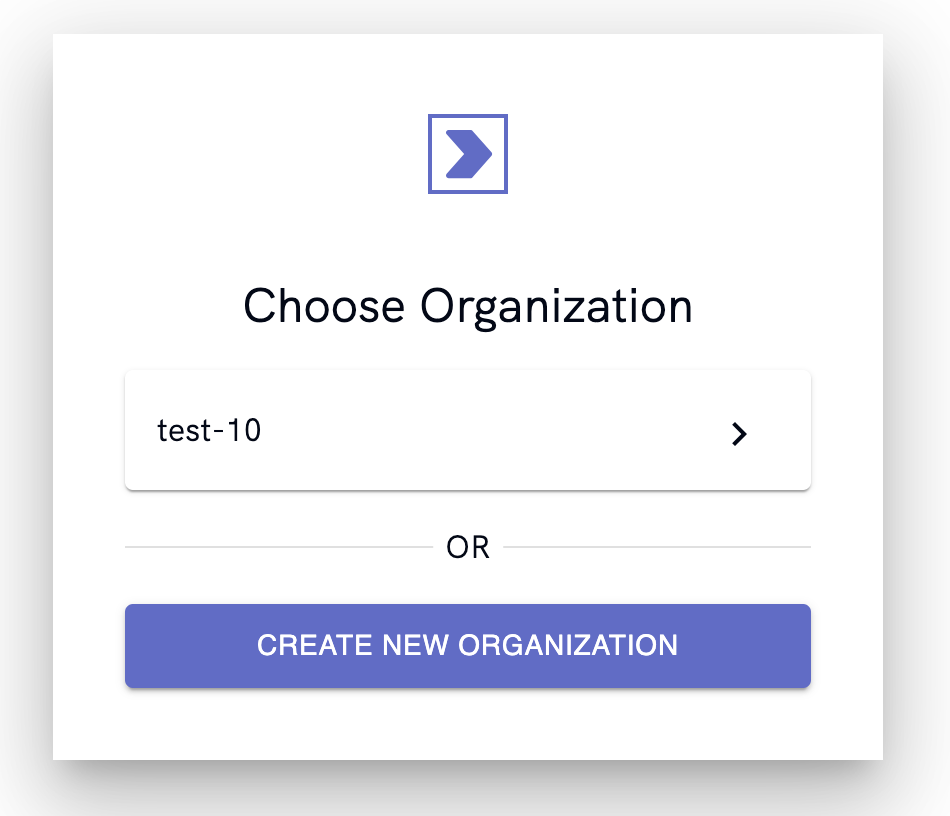
- From the Choose Organization page. Once you have established one or more organizations, you can navigate to this page by selecting Switch Organization in the profile drop-down menu. You will be redirected to the Create Organization page. From here, at the bottom of your organizations list, select Create New Organization.
Create Org page
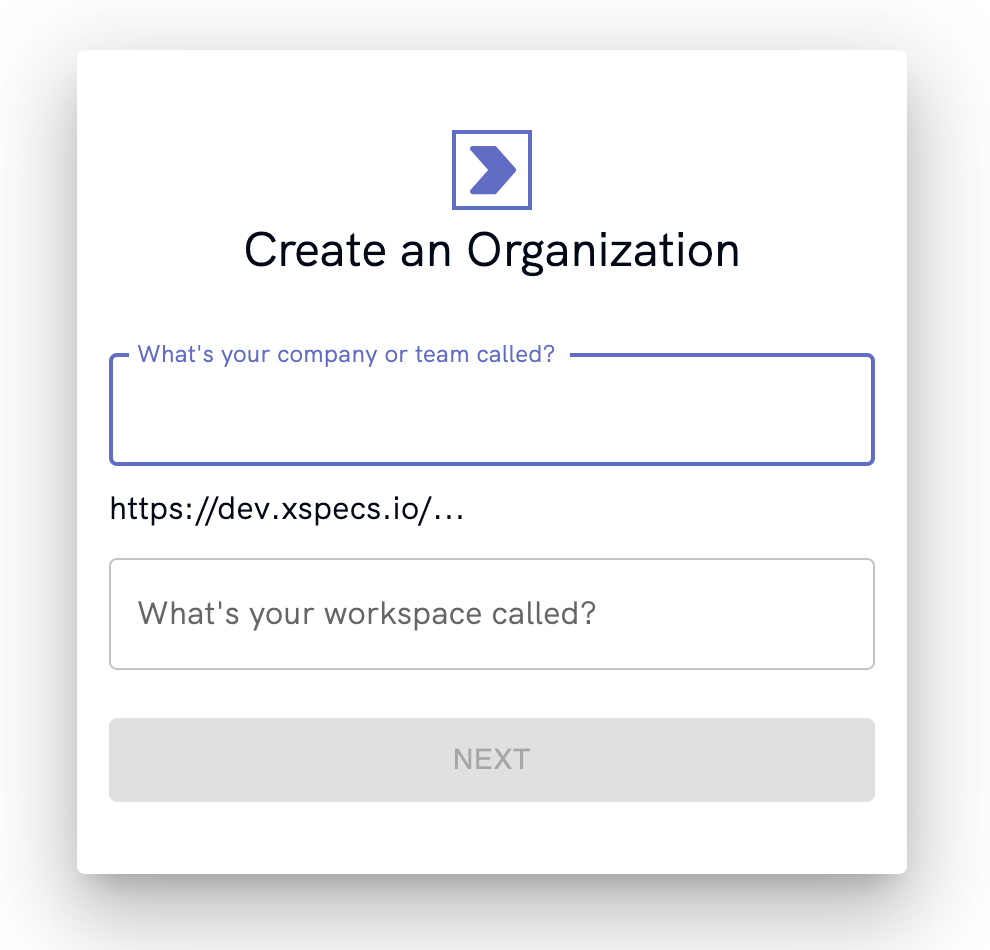
Type the name of your organization in the first field, where it says “What's your company your team called?”. Only lowercase letters, numbers, dots, underscores and hyphens are allowed here.
In the second field, type the name of your first workspace. There are no character restrictions here.
Renaming Orgs
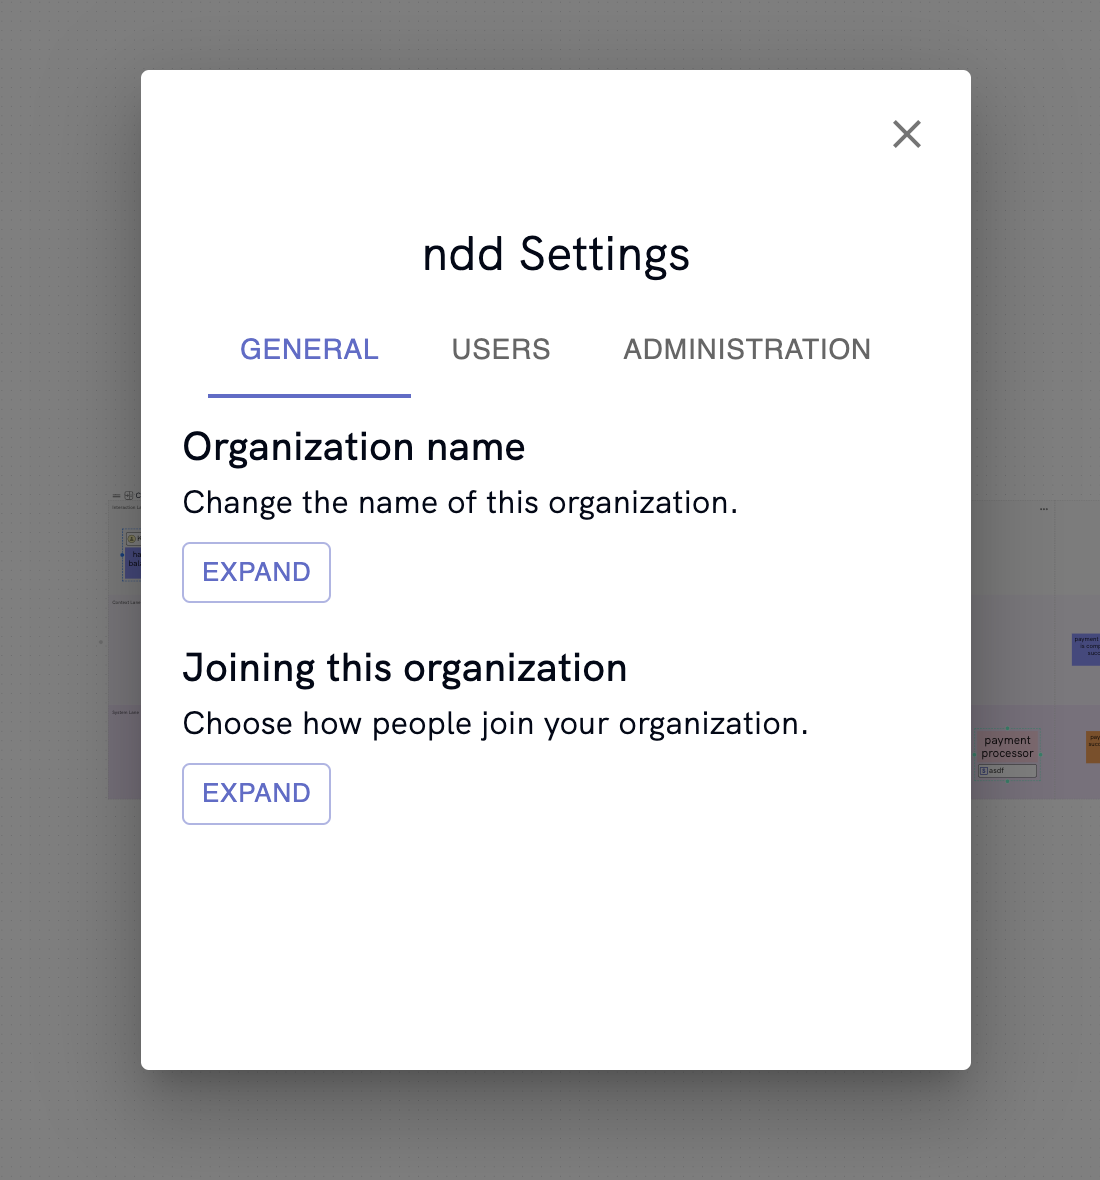
To rename your organization, open "{org-name} settings" in the profile menu. In the "General" Tab, go to "Organization name" and click Expand. Enter the new name in the field that appears and click Save.
Changing User Permissions
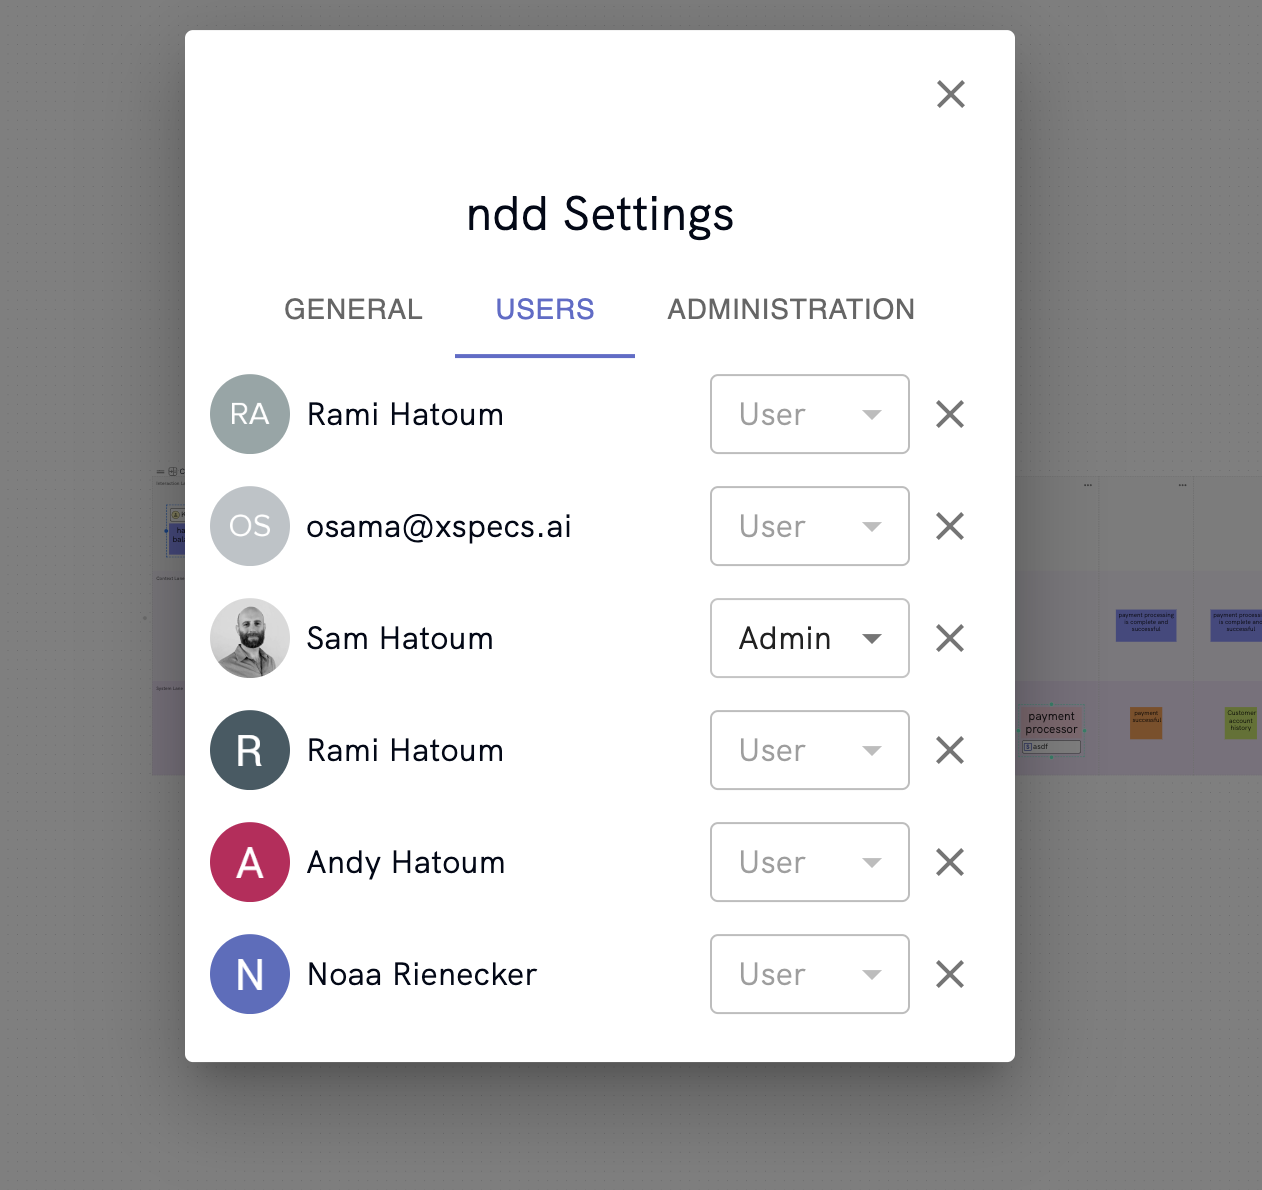
To change User Permissions, open "{org-name} settings" in the profile menu. In the "Users" Tab, you will find a list of users for your organization. If you have admin permissions, you can manipulate permissions for other users by using the drop-down that appears by each user's name. If you only have user permissions, the dropdowns are disabled.
Deleting Orgs
To delete an organization go to the administration tab in org settings.
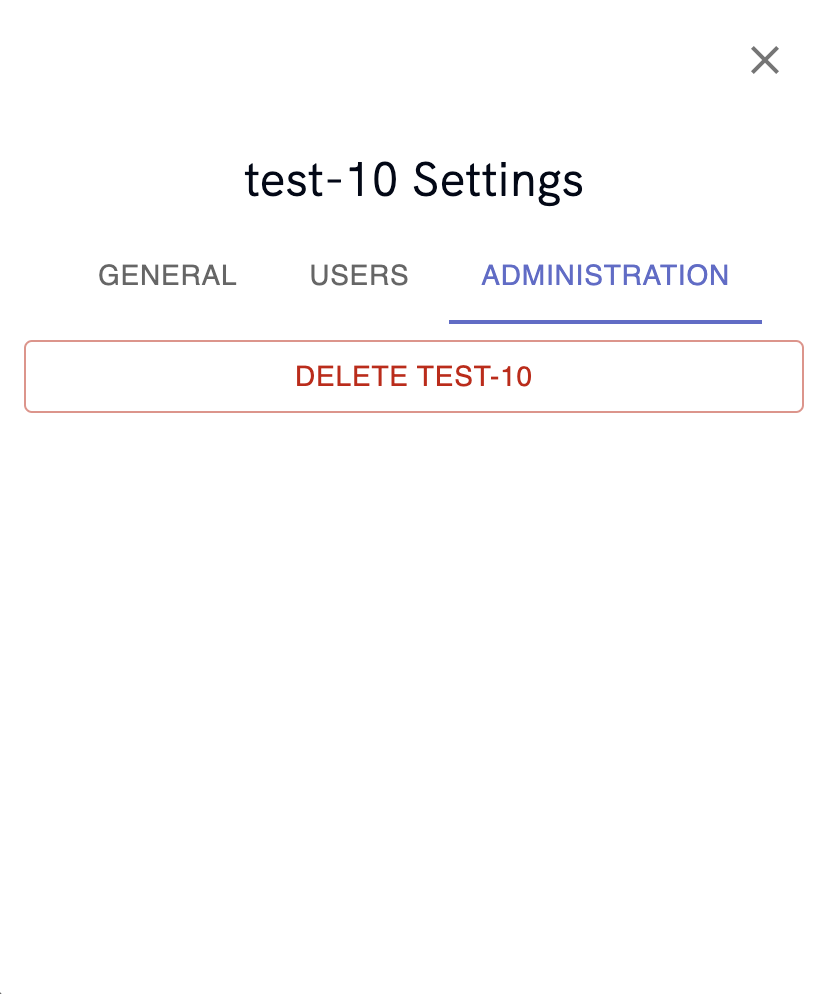
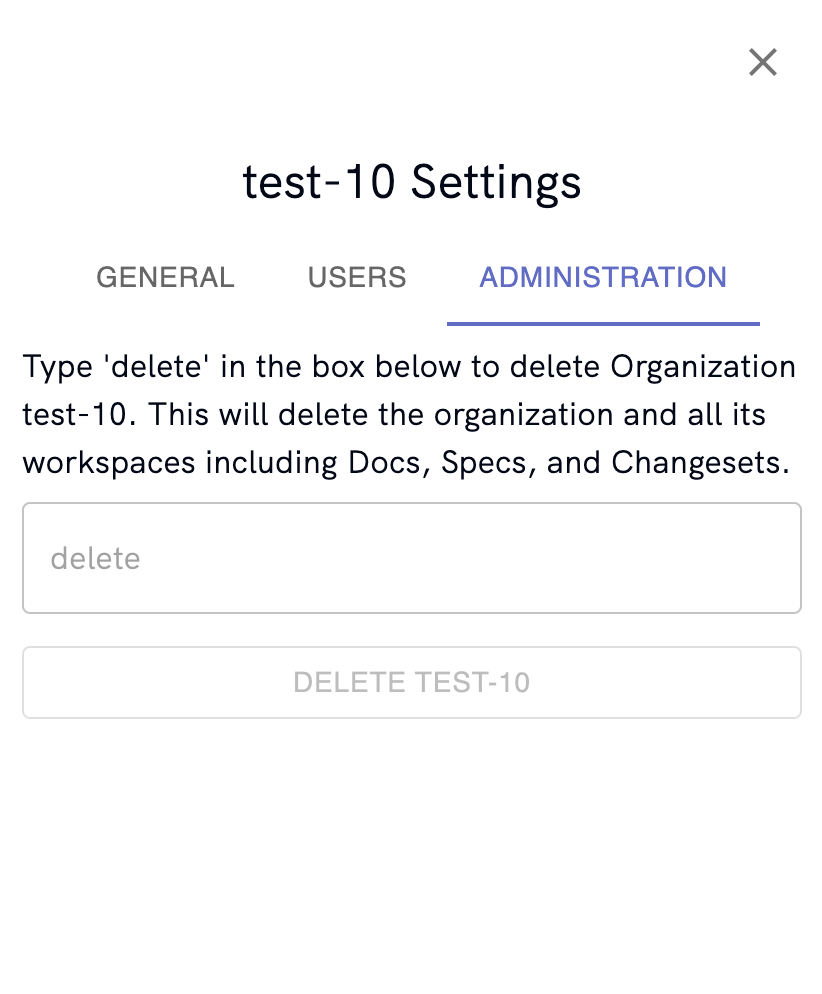
Click the delete button. When prompted, type the word ‘delete’ and click ‘Delete [org-name]’.
Invites
You can invite users to an Org in one of two ways.
- Upon org creation
- After org creation
Sending Invites Upon Creating A New Org
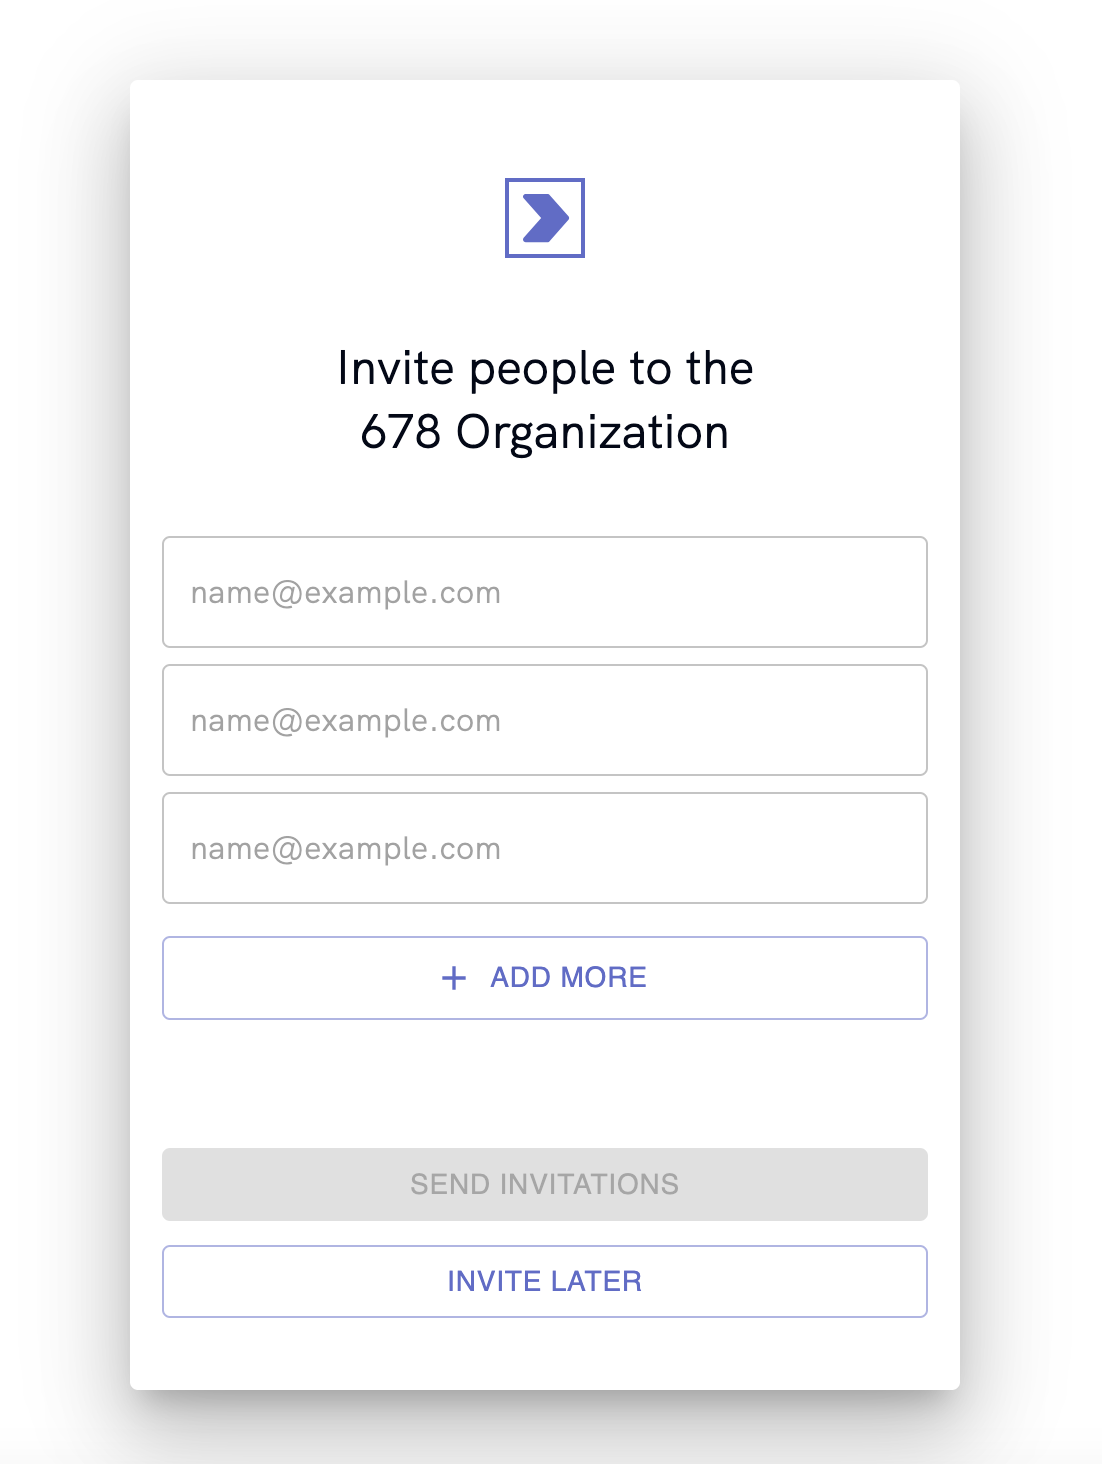
When creating a new organization, you are asked to enter the name of the Org and the name of a new workspace. Once this has been submitted, you are redirected to the invite people page. Here, you can add as many email addresses as you want.
Click the Add More button to add another email field. Then fire off your invites with the Send Invitations button or skip this step with the Invite Later button.
Sending Invites From Within An Existing Org
With an existing org, simply click the invite users button in the header bar. It will open a modal with all the capabilities of the invite people page.
Creating Workspaces
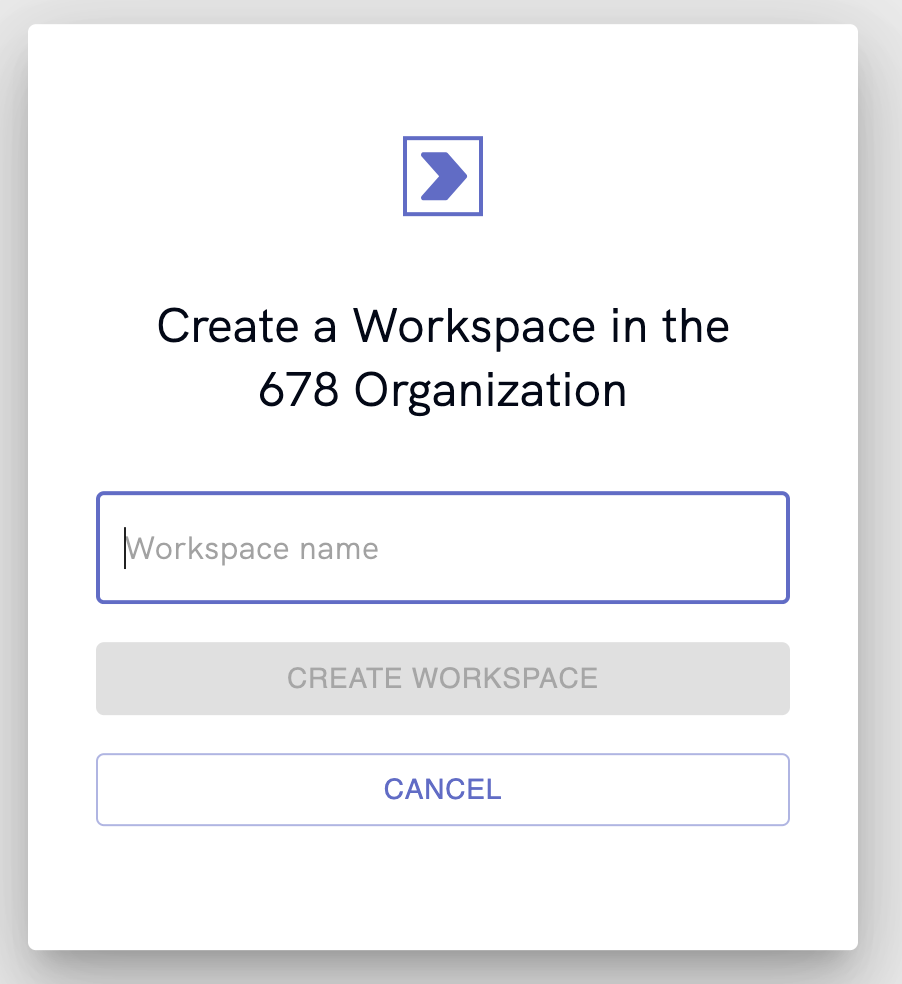
To create a new workspace, open the workspace select a drop down in the header bar. At the bottom of the menu select create new workspace. This will open the create workspace modal.

Create workspace modal
Enter the workspace name and click create workspace. You can create as many workspaces as you want within a given organization.
Want exclusive access to NDD content?
Become an NDD Pioneer. Sign up with your email to get access to new drops.